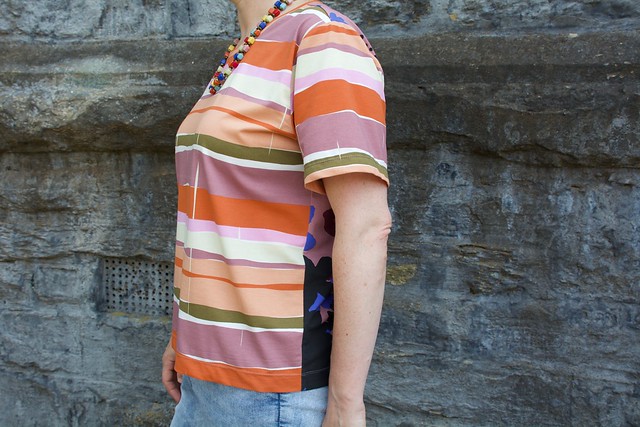
Two-toned tee
This project was on my Sew Japanese in January list, but it came to fruition in February. Sewing is my hobby, so I try not to get too caught up with deadlines… even if I’m co-hosting a hashtag like #sewjapaneseinjanuary.
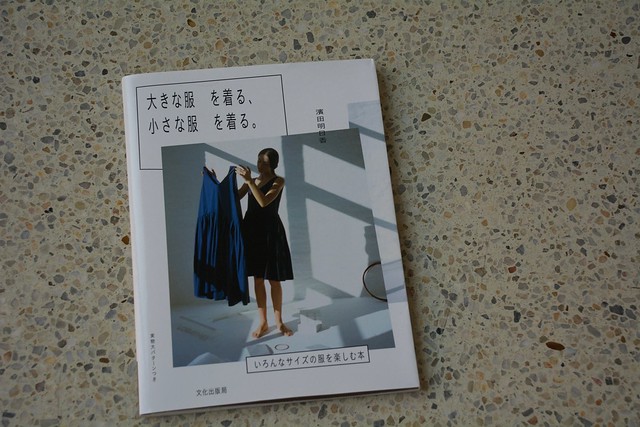
This tee is from a Japanese sewing book that has become a firm favourite of mine. I’ve already sewn a jacket and two oversized sweaters (here and here) from it. The book includes two versions of each pattern – oversized and true-to-size. The true-to-size pattern has two sizes options and includes a diagram with garment width, body length and sleeve length. I find these measurements very helpful when choosing what size to sew.
Last January I had a crack at the over-sized tee lengthened to a dress. I was ambivalent at the conclusion of the project and the dress has become a very comfortable nightie. My less successful jersey sewing projects often become sleepwear! Can you relate?
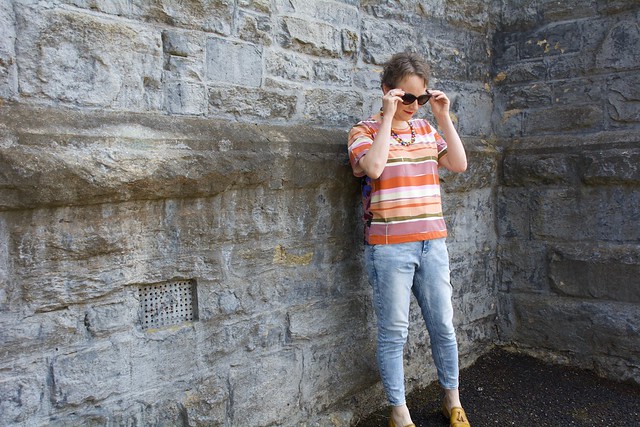
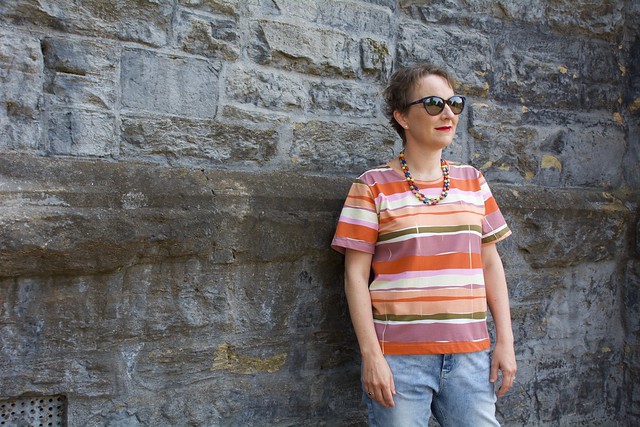
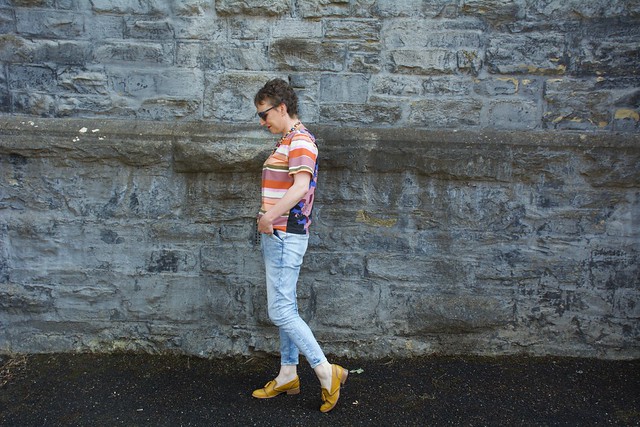
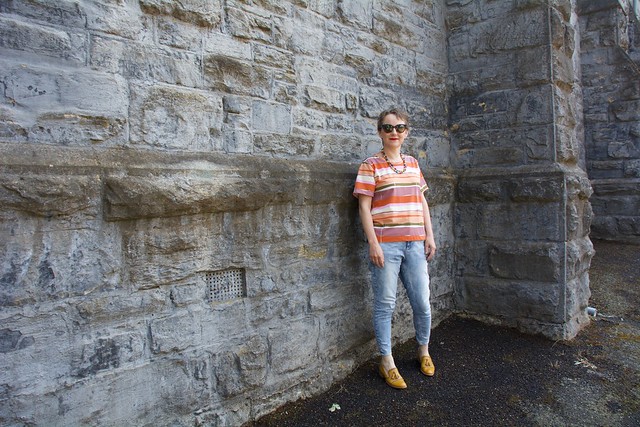
I sewed the true-to-size tee in a size 2 and I think I’ve found my perfect relaxed tee. The only change I made to the pattern was my usual 3/8″ (1 cm) forward shoulder adjustment. The sleeve and hem lengths are as drafted.
Now let’s talk fabric. This jersey was purchased 12 months ago when the Obus Marketplace (who at the time had shop-front in Brunswick, but has since gone online only) was selling Obus’ leftover fabric. This custom print jersey spoke to me… but it wasn’t like the jersey you usually find in fabric shops.
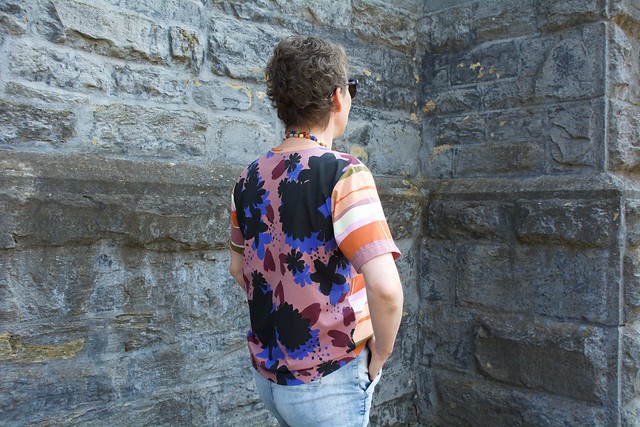
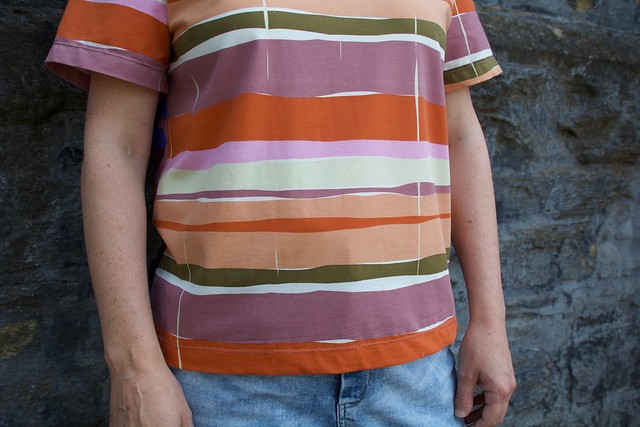
It was 64″ (160 cm) wide and had two totally different prints, that had a single colourway in common, printed side-by-side. 32″ (80 cm) of the irregular stripes (front, sleeves and neckband) next to 32″ (80 cm) of abstract flowers (back).
I thought a great deal about how I was going to use these prints. I sort the opinion of some sewing friends and this was the combination we all agreed on. It meant that I didn’t have to worry about matching irregular stripes at the side seams and it ensured the most flattering of the colourways was closest to my face.
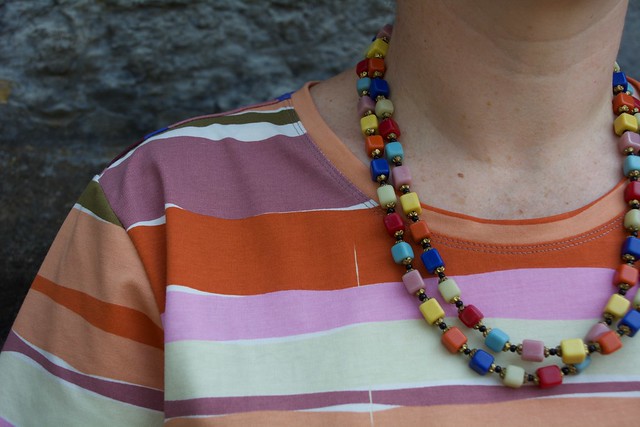
Most of the construction for this tee was completed on the overlocker. I did baste the neckline first (always a good idea) and I have to say it’s one of my better ones. I always ignore the pattern piece for a knit neckline as I like to do things my own way. Knit fabrics have different amounts of stretch, and the length of the neckband is always dependent on the stretch of the fabric. I use Pattern Fantastique’s method for inserting a neckline. Sure, it takes some practice, but it certainly gives the best results.
The common colourway in the two prints, dusky rose, was my top stitching thread colour of choice.
As tees are one of the items in my wardrobe that are lacking, I’ll be pulling out this pattern again very soon.
Pattern: Tee b from ISBN978-4-579-11563-1
Size: Size 2
Fabric: Deadstock jersey from Obus
Alterations: 3/8″ (1 cm) forward shoulder adjustment
Outfit: Jeans from Witchery, antique beads and shoes by Bresley
Photo Location: Daylesford





Perfect fit! And what a great idea to have a different pattern for the back. Now it isn’t ‘just a tee but a designer piece 🙂
It feels designer. Thank-you
A good tee pattern is worth its weight in gold. This version is special with the coordinating fabric! What a cool way to sell two prints, too!
I totally agree on the width your weight in gold comment. It’s simple garments that are the hardest to get right!
How lucky you were to find the fabric printed with the coordinating stripe and print, in such a great colorway. Really wonderful T shirt!
Thanks Audrey.