Shirtfront
Say Hello to my version of The Assembly Line’s Oversized Shirt in a [sold out] Japanese cotton from The Cloth Shop. It’s another cracking pattern by TAL and it’s well worth a scroll of the #TALOversizedShirt hashtag if you have a few spare moments. Some sewists have shortened the pattern to a more classic shirt length, others like @m_o_l_l_y_m_o_l_l_y have lengthened it into a dress, and the very clever @needleandcloth used the base pattern to sew this amazing striped shirt.
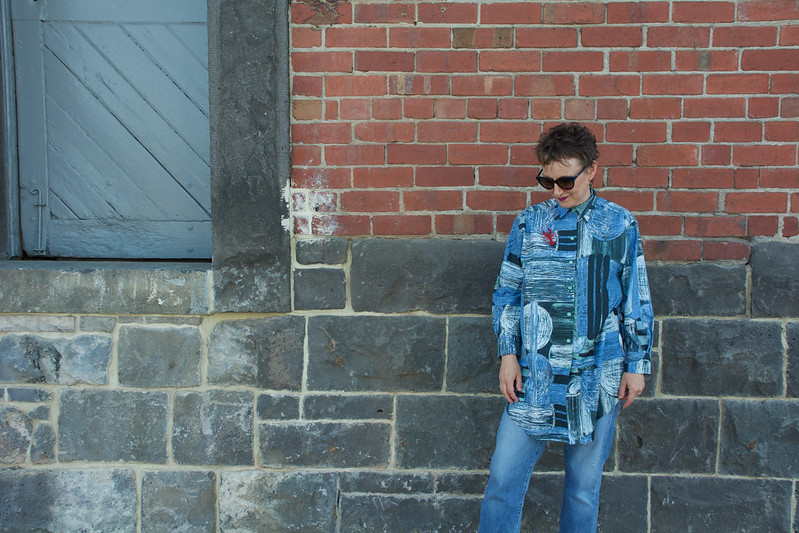
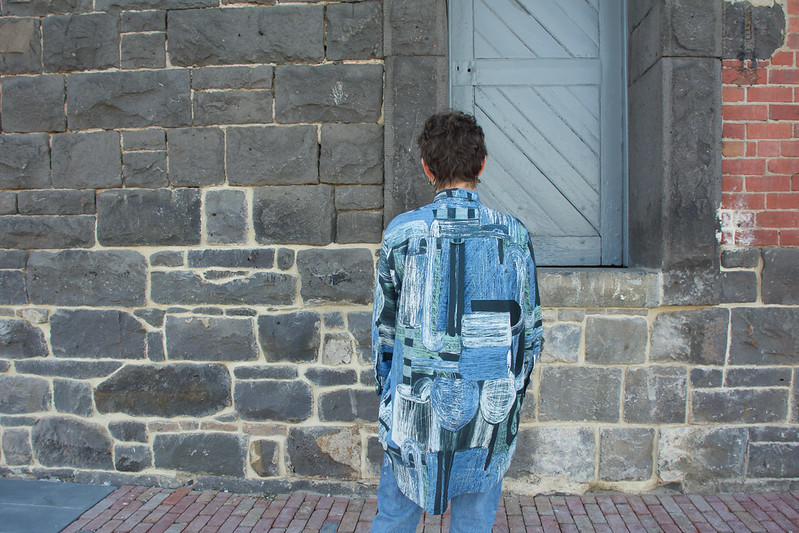
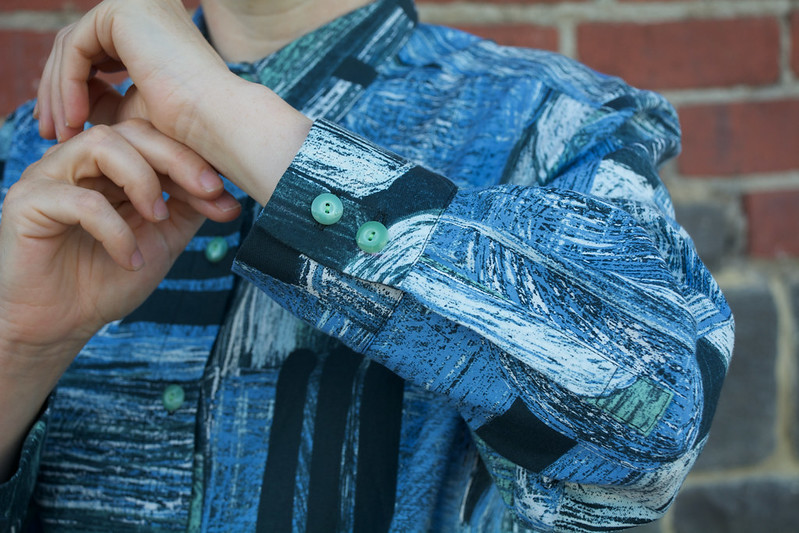
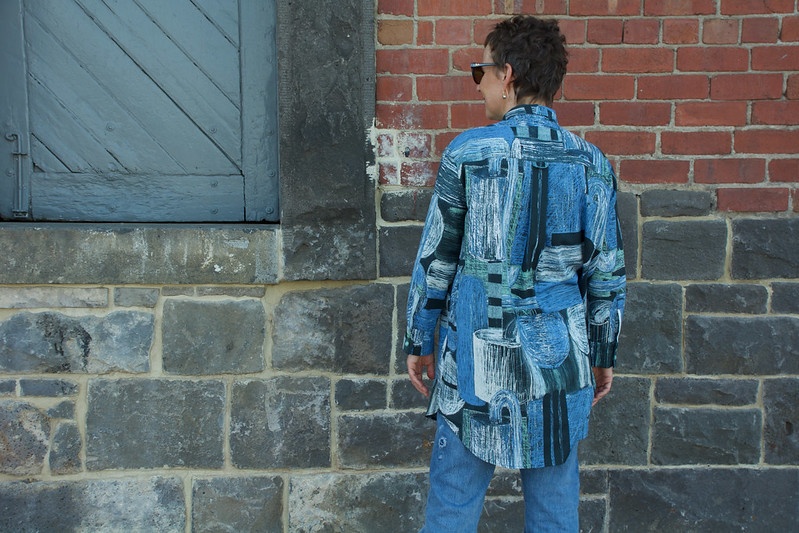
The fabric I selected has a large scale print with some industrial type images… think pipes, cylinders, spheres etc… Although I made no effort to pattern match, I spent a LONG time deciding on pattern placement.
For the two fronts I opted for the linear part of the pattern to run in different directions… one north/south and the other east/west.
The large spheres were a headache to say the least. There was many places I didn’t want them to land! In the end, I did have to settle for them looking like slightly off centre bottom cheeks! They’re at the back and I’m going to forget about them!
I made two fit changes to the shirt, both common alterations for me. I performed a forward shoulder adjustment and I shortened the sleeves by 1″(2.5cm).
I also went a big rouge with button placement. I located my bust apex, popped a button there and then positioned one above and the rest below at equal intervals.
I switched out the bias bound sleeve splits for a placket. I borrowed the placket pattern pieces from Paper Theory’s Olya Shirt.
I expect that pattern was drafted with bound sleeve splits as it’s an easier method of construction. The switch to a placket meant that I needed to widen each of the cuffs by 1.5″ (4cm).
I do enjoy sewing shirts, especially when the pattern includes those little details like a decorative tab on the back yoke and a shirt-tail hem.
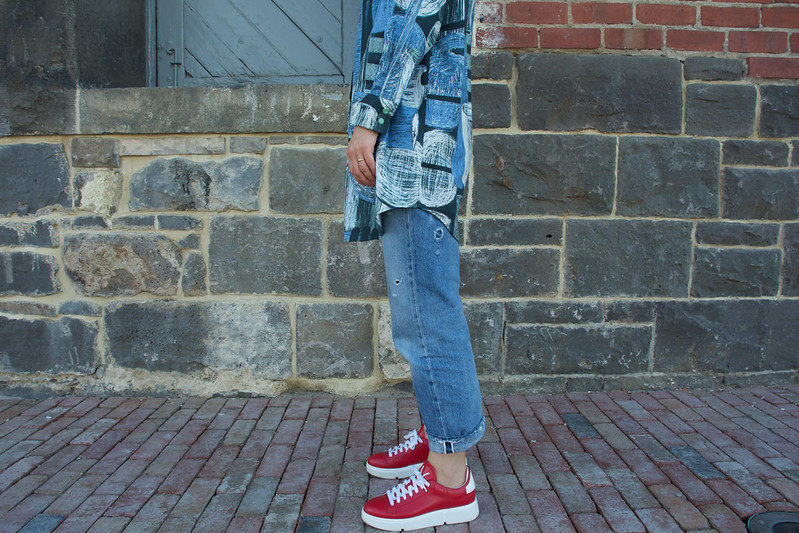
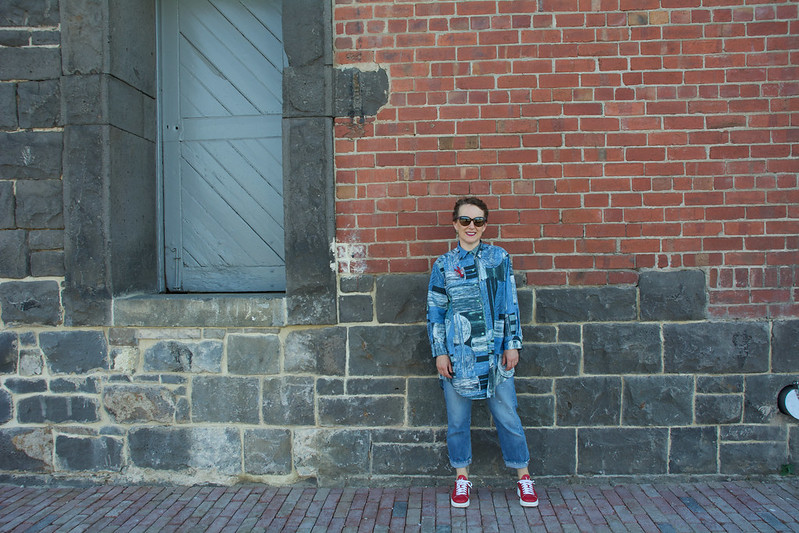
I have a RTW linen oversized shirt that style-wise is very similar to this pattern. Before starting this project I knew I would love and wear this silhouette. I’m currently enjoying wearing this shirt fully buttoned up, with cuffed wide-ish legged jeans. A brooch is of course a must! Worn here with sneakers, seen on Instagram with puffy slides and I predict my orange ankle boots will compliment the outfit too.
I’m rather thrilled with this shirt. The temptation to make another is there, but with a RTW and a me-made oversized shirt in my wardrobe I think I might have maxed out this garment type for now. Are you tempted to make this pattern?
Pattern: The Assembly Line’s Oversized Shirt (purchased from work)
Size: Small
Fabric: Japanese cotton [sold out] from The Cloth Shop
Alterations: 3/8″ (1cm) forward shoulder adjustment, shortened the sleeves by 1″ (2.5cm) and change the bias bound sleeve split to a placket using pattern pieces from Paper Theory’s Olya Shirt. The placket change meant I needed to widen each of the cuffs by 1.5″ (4cm).
Outfit: Trovelore lobster brooch from Tiffany Treloar, jeans from Scarlet Jones (several years ago) and sneakers purchased last summer from Luisa
Photo Location: Ballarat






Every second spent on pattern placement well worthwhile. Shirt would be right at home among most recent MM6 pieces (my highest praise). Of course I’m tempted to sew this shirt–you make it look so gorg! And A+ on styling, as usual.
That is high praise indeed. And I have to agree on the worth of spending time with pattern placement. I made a big faux par one project and I’m still scarred!
Absolutely beautiful shirt and the fabric is stunning! Enjoy!
Thanks Lodi. It’s the perfect garment for our autumn weather.