Melbourne Frocktails 2023
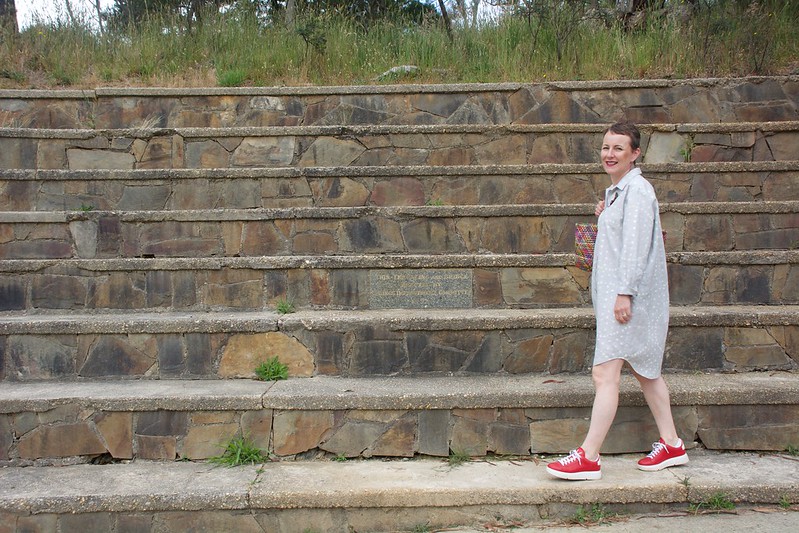
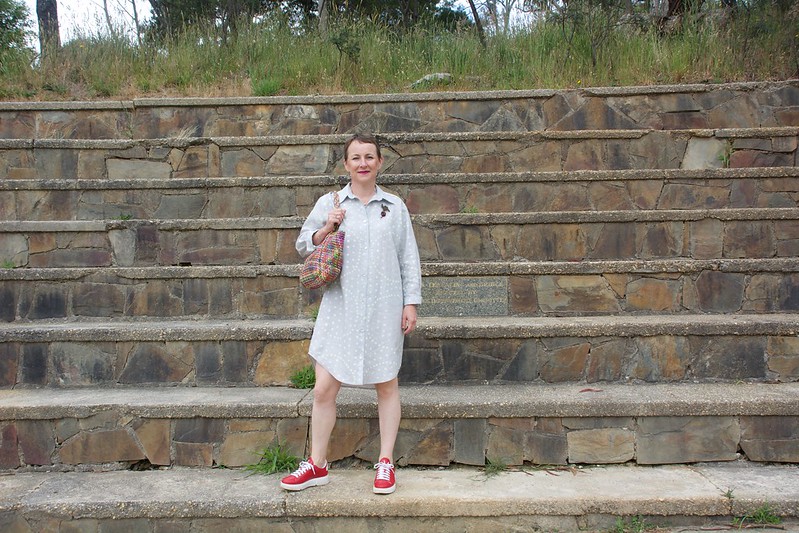
Well Melbourne Frocktails 2023, a cocktail event attended by 220 makers, was a blast! It was my first Frocktails since 2019 and I was determine to sew something that would be event worthy, but also have regular use in my everyday wardrobe. I’ve styled the dress for everyday wear in these photos, but see some snaps my daughter took before the event on Instagram.
I was toying with the idea of separates and then @theclothshopivanhoe came up with this fabulous pattern and fabric combination & I was sold. It includes my love of linen, sack dresses, and sewing & wearing shirts.
The fabric is Ympäri Pocho Linen (a collaboration by Naomi Ito (@itoitonao) x Anu Tuomienen) that I purchased from work. Did you catch the metallic dots?
The pattern, The Assembly Line’s Oversized Shirt, is one that I’ve sewn before, which totally took the stress out of the making.
I lengthened the pattern into a dress, which isn’t a new idea, but it’s a good one! See others that have gone before me:
Now let’s talk pattern placement. I spent an ENORMOUS amount of time placing my pattern pieces in an attempt to keep the front symmetrical (as much as you can with a pattern that’s not identical), not end us with a giant circle anywhere it didn’t need to be (you know what I mean!), and not waste fabric. I was also aware of keeping the silver and light green sections somewhat balanced.
Using my Clover Water Erasable Marker (purchased here) I traced around every pattern piece before cutting out. NEVER in all my sewing career have I done this before. It was just the piece of mind I required… and I actually think I nailed the pattern placement.
Can you guess which was the hardest pattern piece to place? It might be small, but the most head scratching was caused by the back yoke!
Like last time I sewed this pattern, I switched out the double-fold sleeve splits for plackets which I borrowed from Paper Theory’s Olya Shirt. The change to a placket meant that I needed to widen each of the cuffs by 1.5″ (4cm).
I performed my usual forward shoulder adjustment, and did my own button placement. I opted to leave off the top button as I don’t ever envisage ever wearing the dress buttoned right up, and getting that top buttonhole to be both well placed and neat is a stress I didn’t need!
In a little spot of future proofing, I hand sewed and extra button to the seam allowance.
This was such an enjoyable and satisfying project.
Pattern: The Assembly Line’s Oversized Shirt (purchased from work)
Size: Small
Fabric: Ympäri Pocho Linen and shell buttons
Alterations: 3/8″ (1cm) forward shoulder adjustment, shortened the sleeves by 1″ (2.5cm) and change the sleeve split to a placket using pattern pieces from Paper Theory’s Olya Shirt. The placket change meant I needed to widen each of the cuffs by 1.5″ (4cm). Added 5″ (12.5cm) to the length.
Outfit: Trovelore beetroot brooch from EST, earring and bracelet from Susan Ewington Jewellery, antique necklace and sneakers from Luisa a few years ago.
Photo Location: Daylesford


Your attention to detail gas really paid off. A great idea not to create the top buttonhole.
Your attention to detail has really paid off. A great idea not to create the top buttonhole.