Olya and a big blue sky
The Olya Shirt was released by Paper Theory in late November last year. Tara, the pattern maker and owner of Paper Theory, uses non-models to showcase her designs and I love reading the blog posts about her new patterns and muses.
I have sewn and loved all of Paper Theory’s previous patterns – Kabuki Tee (v1) and LB Pullover (v1, v2 & v3) – so when Tara asked me if I’d like a copy of the pattern a few days before release, I didn’t hesitate. I’m often guilty of not tackling harder or more challenging patterns as I get a little overwhelmed, but the design lines of this pattern had me at hello.

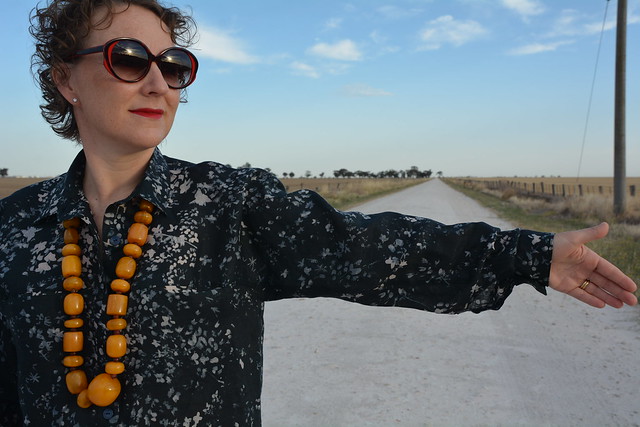
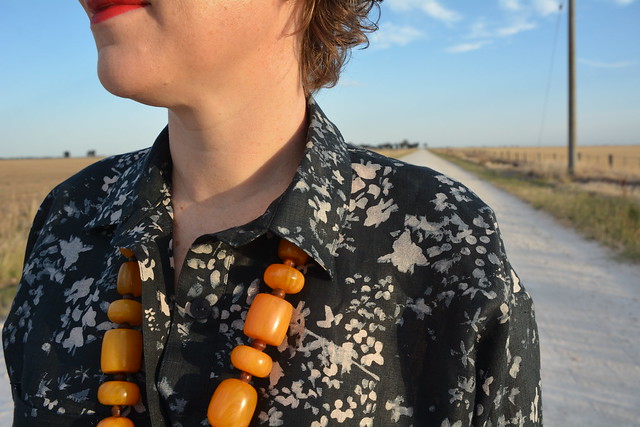
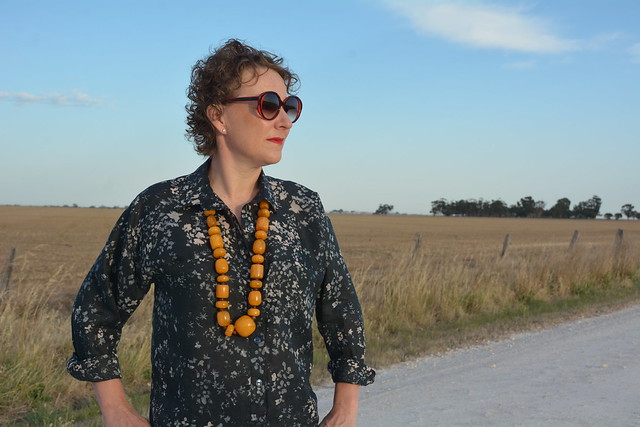
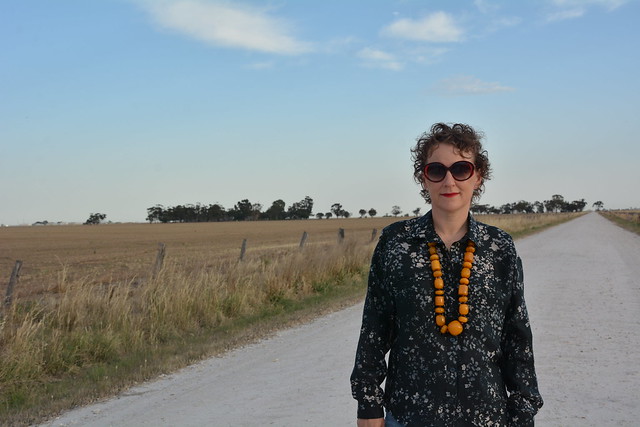
Unfortunately, my lovely printed linen, which I purchased from Tessuti in spring 2017, makes it a little tricky to see the design lines on my shirt, but let’s try…
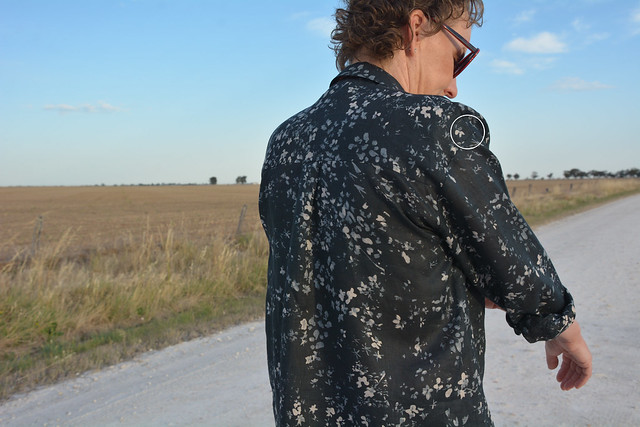
The sleeve and front yoke are is a single pattern piece. Yes, you heard me right! If you’d like to see this drafting wizardry, look for page number 9 on this Instagram post.
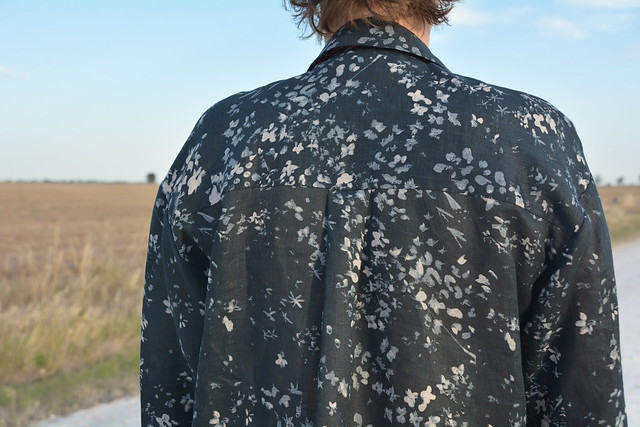
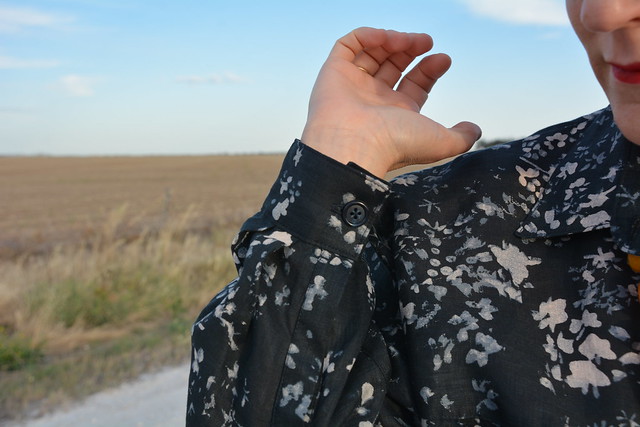
The back yoke is attached to the front yoke/sleeve with a corner seam, which I’ve circled in the photo above. If you’ve sewn the Kabuki Tee before, you’ll be familiar with these right angled corners.
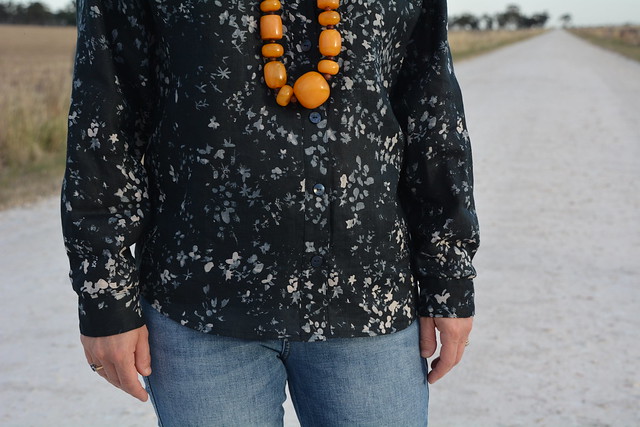
The Olya Shirt has a back pleat detail aiding its relaxed fit.
The pockets are located on the inside of the shirt and the pocket openings are concealed in the front yoke/sleeve seam. The instructions give you the option of top-stitching the pockets to the front body, which I didn’t do. To tell you the truth, my pockets didn’t look even enough to be highlighting them with top-stitching! As a result, my shirt is suffering from a little bit of pocket opening droop, which is hardly noticeable due to my patterned fabric.
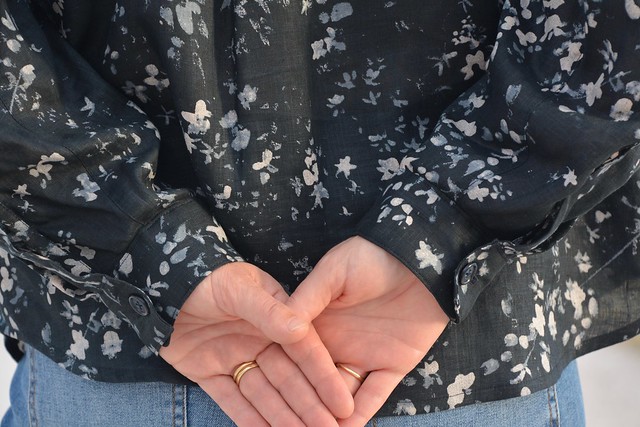
My only previous shirt sewing experience was sewing Tessuti’s Jac Shirt several years ago, so this was the first time that I’d sewed a sleeve placket. This is one of those sewing things that isn’t particularly hard, but there are lots of steps and it’s important to be accurate. My advice… take things slowly.
One of the things that I loved about sewing this pattern was all the top-stitching. Gosh, I never thought I would say that! My Bernina B535 and Bernina’s edge stitching foot (No. 10) made this process a delight.
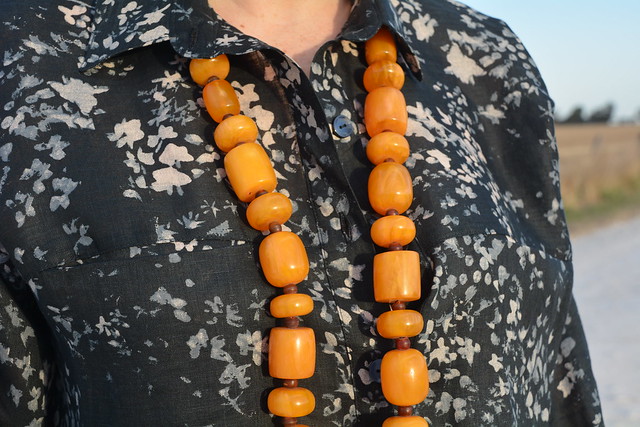
The buttons for this project came to me via my op shop button stash. I didn’t have enough of the same type, so the sleeve buttons are different to the ones down the front. Let’s call it a design feature! Actually, no-one will probably ever see the buttons on the sleeves as I’m definitely a girl who like to roll her shirt sleeves up.
I sewed a straight size 10, which is one size larger than my usual Paper Theory size. I purposely sized up as I felt that the style was drafted for a relaxed fit. The only fit change I have noted for next time is to shorten the sleeves. My arms are proportionally shorter than my body, so this is a very common alteration for me.
Interested in seeing another version of this pattern? Mie sewed a beautiful Olya Shirt and has a write-up on her blog.
Is shirt making a super power of yours, or are you a novice like me? If you happen to be a novice, then Paper Theory has you covered. Tara recently published a Olya Shirt sew-a-long on her blog.
There will definitely be more Olya Shirts in my life… and actually with a few fit changes maybe another Jac Shirt too. I’ve learnt that my love of Paper Tgeory patterns runs deep and that shirt making is very satisfying.
Pattern: Paper Theory’s Olya Shirt
Size: 10
Fabric: Light-weight linen from the stash via Tessuti
Alterations: None!
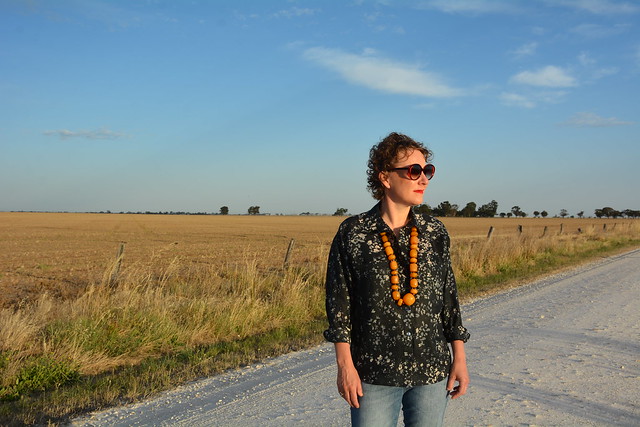
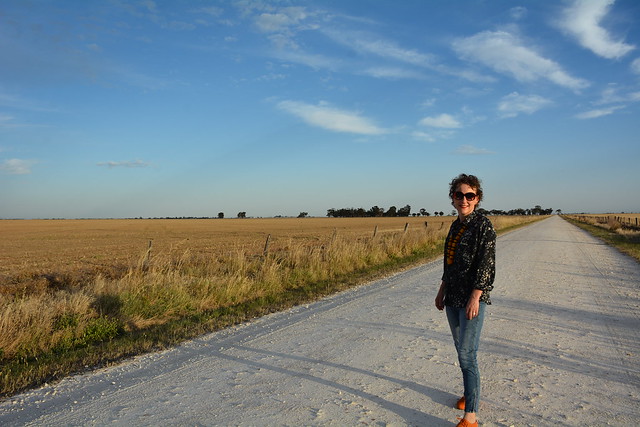
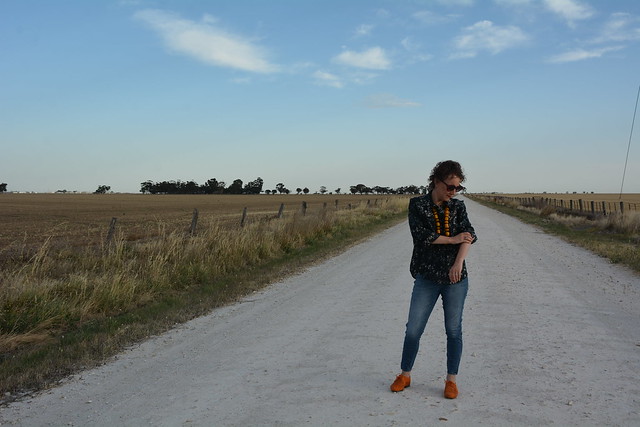
Outfit: Jeans from Witchery, beads from Scarlet Jones and Rafia Chic basket weave shoes from Scarlet Jones
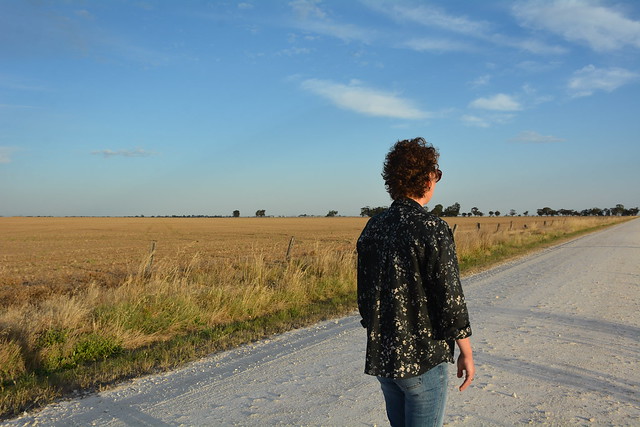
Photo Location: Gravel road on the outskirts of Horsham

A beautifully made shirt. Thank you very much for including the link to the Olay sew-along as I’ve been looking for a technique for neatly attaching the collar stand. The Olay technique is the best one I’ve seen.
I’m glad that you have found value in the sew-a-long Anna. Shirts include a whole lot of new skills to master.
You’re on fire! I hope I can try this on one day! It’s such a chic design!
You certainly can try it on! It’s not a fast sew, but it’s so worth it!