Lucent Visor

I know we are supposed to be in the middle of an artic vortex here in Melbourne, but Pattern Fantasique has released it’s Lucent Visor this week and I must tell you all about it.
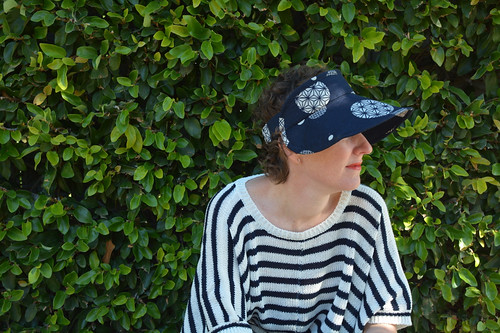
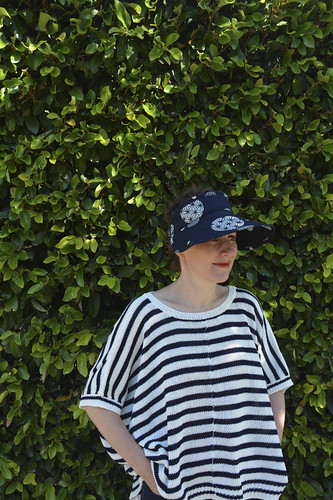
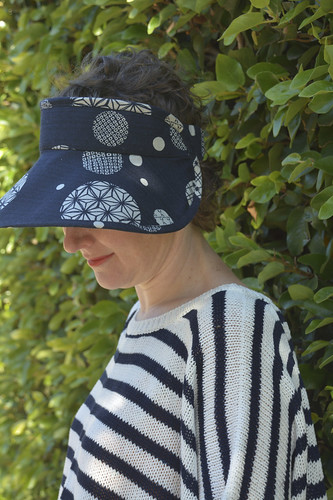
The visor comes in three brim sizes – small, medium and large. I would like to say that with my fair complexion and freckles, I chose large brim for maximum sun coverage… but the truth is that it was only size available when I was testing the pattern early this year. That being said, I do have a large head and I think this size of the brim balances it nicely. Am I right in thinking that I am wearing the visor rather than the visor wearing me?
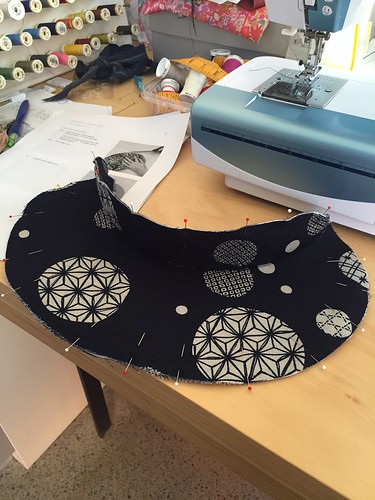
The brim of the hat is sewn first and then the hat band, which is custom fitted to the wearer, is constructed and added. Here are some of my ‘in progress’ happy snaps from my phone.
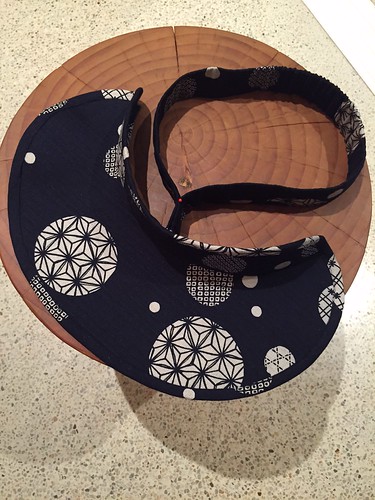
The hat band is a little fiddley, threading thick elastic through a fabric tube not much bigger than the elastic requires patience, but it’s worth it as it gives a great finish. As I mentioned earlier, the hat band is fitted to the head of the intended wearer and it covers head circumferences from kids up to 62cm. I’m expecting orders from my girls this summer.
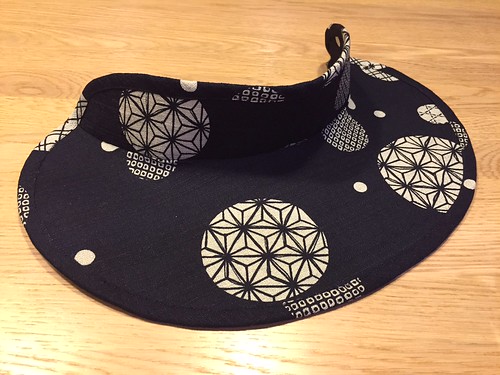
The visor has been designed so that you can throw it in your bag without a care in the world, and when it’s time to wear, it just pops back into shape. The secret sewing ingredients are buckram & plastic millinery wire.
I wasn’t familiar with buckram when I started this project, but I now know that it is 100% cotton interfacing, can be sew-in or fusible (I used fusible) and like most interfacings it comes in several different weights. I’ve purchased buckram from Clegs where it’s sold under the brand/product name Shapeform and would probably be classified in the ‘lighter-medium’ weight category.
It was also a case of first-time-use when it came to the plastic millinery wire. It’s not difficult to use and I think it really adds to the professional finish of the visor. The plastic wire is joined by jewellery crimps or ferrules, so you will require a pair of pliers for this step. I was given the plastic wire and crimps as part of my pattern testing pack, but I believe they are best sourced from online millinery supply stores.
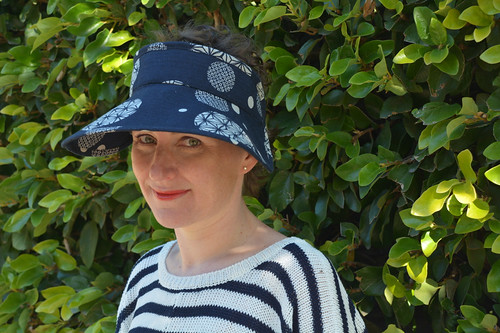
This pattern is a great scrap buster. Do you recognise the Japanese cotton I used? It’s left over from a Japanese Jacket I made earlier this year.
Did I also mention it that this was a very satisfying sew? And the results… well I think they speak for themselves. Are you tempted to dabble in a little visor making?
Now if our weather would just warm up so I can wear my new visor.
Pattern: Pattern Fantastique’s Lucent Visor
Size: Custom fit hat band… with the option of three brim sizes. I sewed the largest brim size.
Fabric: Japanese Cotton from Tessuti (purchased in 2014)
Alterations: None!
Accessories: NA

I can’t believe you found enough light to photograph yourself in shadow! It’s so grey and cold and wet! Maybe sewing a visor would cure my winter blues. I like the big brim as it looks more pin up girl less tennis player.
You are a weather expert too? These photos were taken in late March just after I finished sewing the visor. I’ve been ‘sitting’ on this awaiting the pattern’s release date. All the blogging and instragraming about the visor today make me just want to sew another one RIGHT NOW!
Fabulous! I love a big brim too. Surely you need one in orange?
I do, I do, I do need an orange visor. Why didn’t I think of that?
I think you need one in every colour! Very handy… For the summer!
Now you’re talking. Confession… I brought some Japanese fabric remnants today with more visors in mind.
This is fab and so unusual with the lovely wide brim and comfy big strap.
… I’ve just finished three little reversible bucket hats (Oliver & S – free pattern) for my 8 month old granddaughter, I used plain fabric on one side and liberty on the other, they are lovely but she won’t have them on her head as she prefers to use them as frisbees!
Oh I know that stage well… babies and hats can be so trying!
I really think this is possibly the coolest thing ever. I could imagine Gorman putting out something like this and everyone going crazy for it. I’ve just got this pattern, haven’t looked at the instructions yet or the tools needed but wow looks like there is some new ground to cover for me too, never used either of those strange things.
Isn’t it? Nita-Jane’s designs and drafting are perfection (I’m such a groupie!). Can I confess I brought three Japanese cotton remnants today… one visor in my life just won’t be enough. Can’t wait to see yours made up.
Oh it is perfection I will have to make one or many
Thanks Jintty. From my experience, I think you will find it hard to stop at one…
Now that is a serious visor! I have a feeling all the cool kids will be wearing this come summer, but I’m gonna count myself out. I really like a wide brim all the way around otherwise… hello sunburnt neck. You look gorgeous, lovely xxx
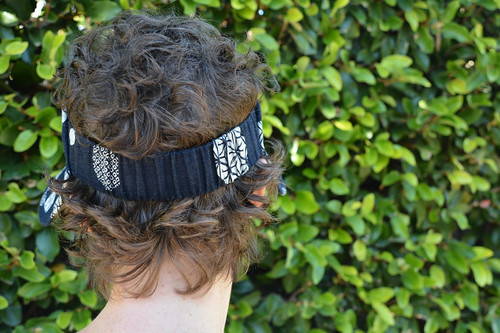
I probably need a brim all around like you say, but I will wear this at times when I want to put a hat on (ie. school pick-up) but for vanity reasons don’t want hat head… I’m sure you understand about hat head!
Ugh, curls and hat head. That’s why a beanie never made it to my noggin in CBR 🙂
stunning. I am in the process of making mine and i’m so excited to see yours turned so good.
Yah for Lucent Visors. I can’t wait to see what fabric you’ve selected. I found this a fun make… I hope you do too.
[…] that have been made, because it’s a terrific visor. There is a detailed review by Anna here and one by Rachel […]
Nice…I’ll make it for myself.