Never gonna give you up

This project started 12 months ago with the purchase of some lovely Japanese seersucket cotton from work (The Cloth Shop) and my desire to sew a shirt. If this blog post needed a sound track, it would definitely be Rick Astley’s ‘Never gonna give you up‘ as I encountered many challenges.

Disappointingly, the first shirt pattern I tried wasn’t a great fit for me. That shirt ended up in the pile of scrap fabric to be added to the Closet Core Pouf (DIY tutorial here if interested) my daughter is planning on making. For the curious among you, it was Common Stitches’ Bellbird Button Up with the long sleeves.
After attempt one, I purchased another length of fabric as I still had strong desire make a shirt from this fabric. It took me many months to choose another shirt pattern.
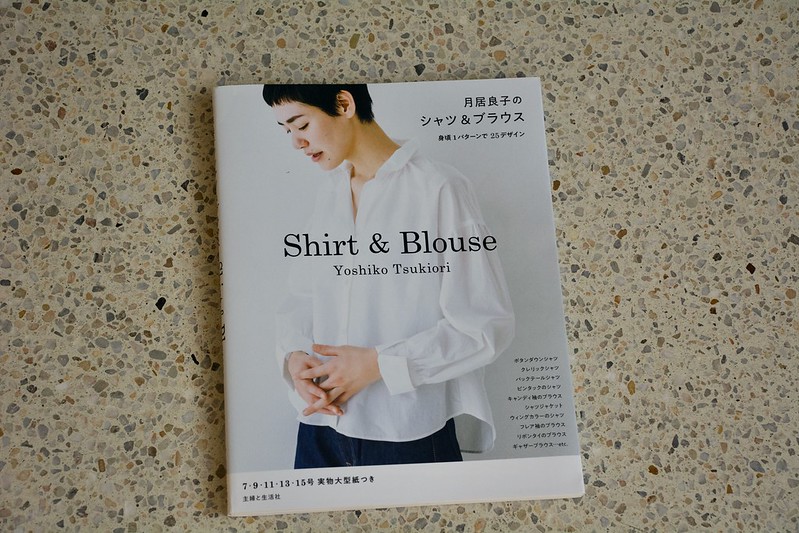

Summer came around and inspiration struck. I traced the pattern on the cover of ‘Shirt & Blouse’ by Yoshiko Tsukiori and added seam allowances. As long term readers would know, I am very used to tracing and sewing up patterns from untranslated Japanese sewing books… but this one proved much more challenging than I expected.

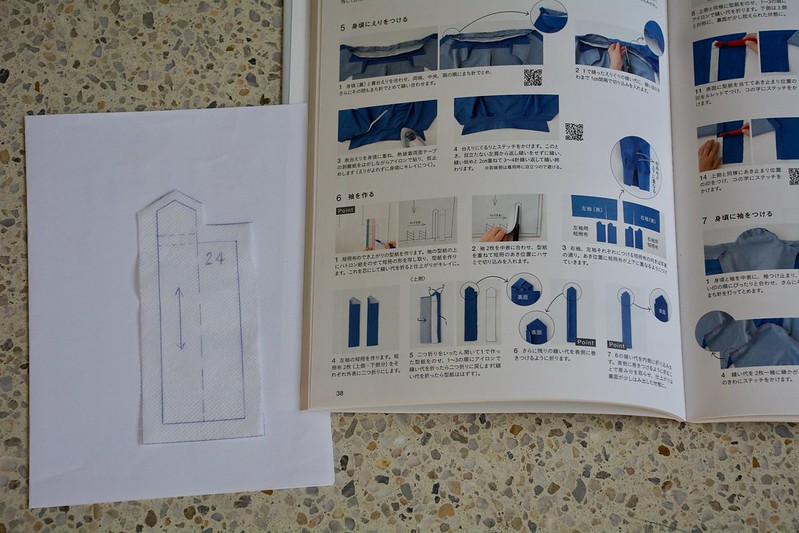
As the name suggests, it is a book of shirts and only includes one double sided pattern sheet. There are a lot of variations crammed onto a small amount of real estate. In the end, I interpreted the cutting diagram (far left in photo above) and wrote myself a list of pattern pieces to trace.

I still made an error… which became very apparent when I attempted to attach the collar stand to the neckline. The neckline was enormous compared to my stand. I reviewed my pattern pieces to try and work out what had gone wrong and checked them against the pattern sheet.


My wobbly green lines shows the B Neckline and A armhole I traced… the blue line is the shoulder line I needed to trace. The larger neckline is for the shirt variations with gathered necklines. In my defence, I don’t think it was very clear.

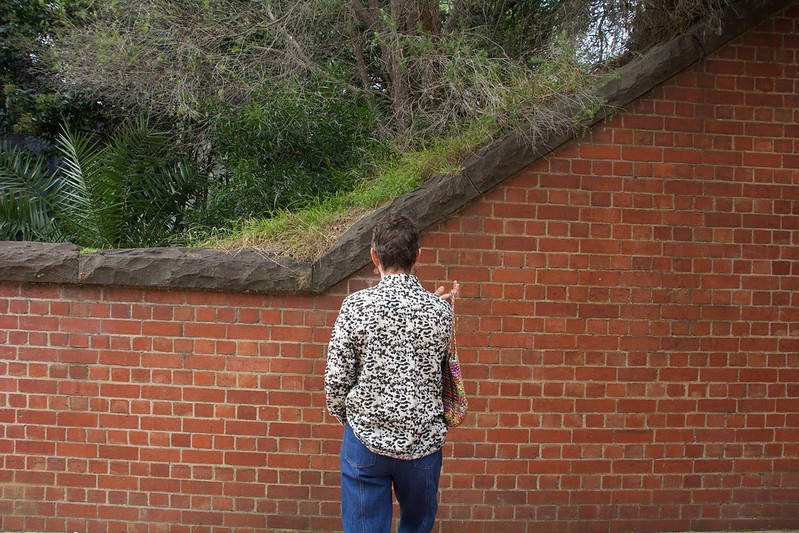
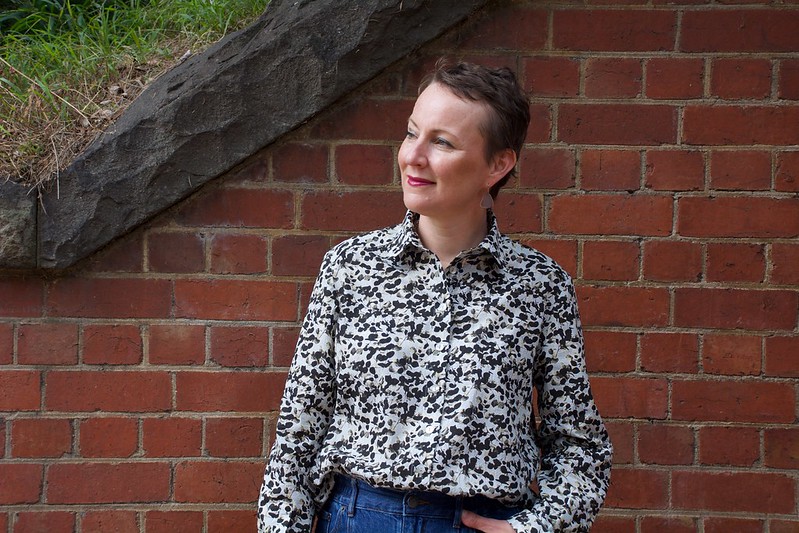
The shirt I was making has a forward shoulder built into the yoke (see photo above), hence the smaller neckline and armhole on the front pattern piece.

The topstitched yoke was unpicked, the shoulder seams were revealed and I set upon them with the seam ripper. I cut down the front shoulder seams, and sewed everything back together and added the collar and collar stand. Disaster averted? Well, until the next hiccup!
The sleeve placket was a pattern shape that I had not seen before. I’m used to sewing the placket in two pieces… a sleeve binding and a placket piece. Thankfully, I cut out a test and I spent more time scratching my head and trying to manipulate the test placket than I care to admit. The photographed steps in the book weren’t helping, nor were my google searches. Eventually I showed it to my sewing teen who looked at it and said… “that’s just not possible to finish both cut edges with that one pattern piece.”
It then dawned upon me… I needed to cut two of these identical pattern pieces per sleeve… I had somehow missed that crucial step in the instructions (insert eye roll here!). I quickly decided that my perfectionist tendencies would be severely tested as the precision sewing required to get the placket to perfectly match on both sides when topstitched would be very difficult. I therefore abandoned that method and used my favourite sleeve placket pieces from Paper Theory’s Olya Shirt. I was then back on track… well so I thought.
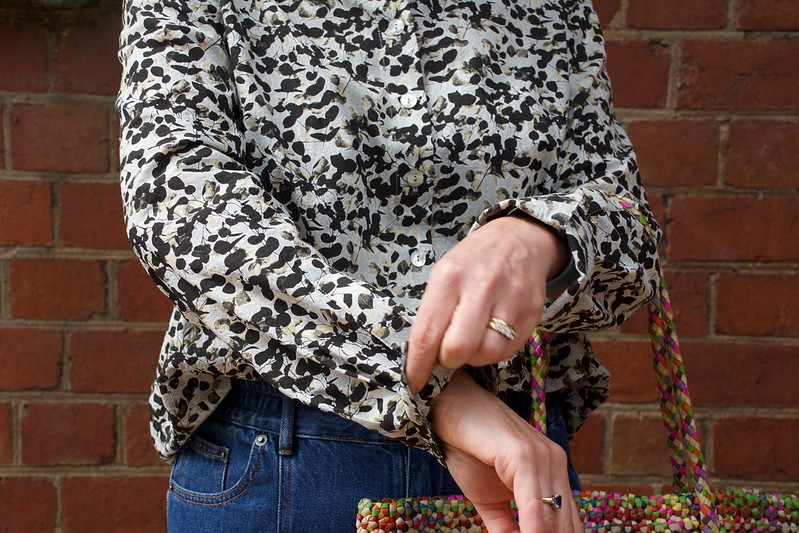

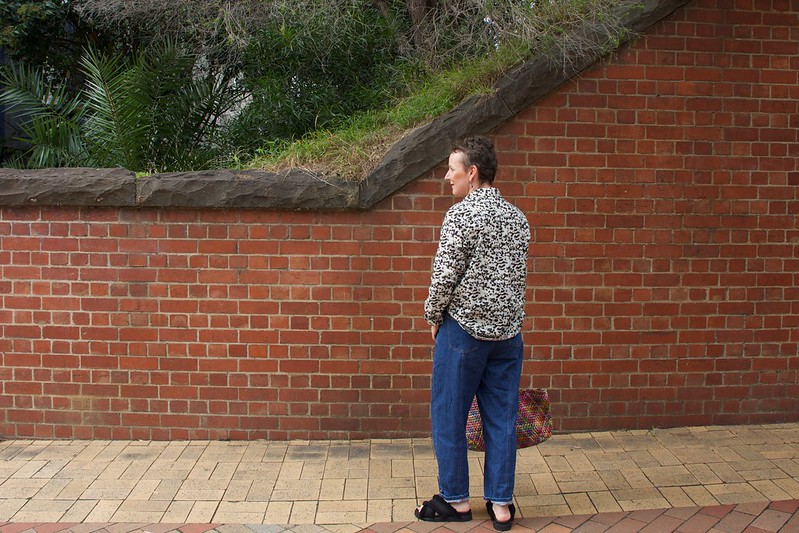
I ended up sewing not one, not two, but three sleeve cuffs with the pattern upside down… places bowed head in hands. Most people wouldn’t have noticed, but I knew it would bother me, so I re-cut and re-made them. The sleeves are possibly a touch long, so I will wear the cuff folded back (as seen above).

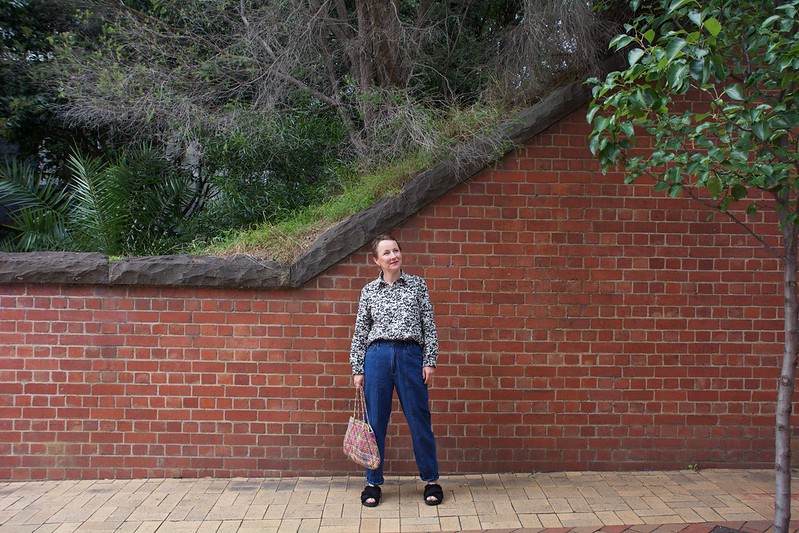
It was only when Sharon was talking the above photo above that I realised I had inserted the sleeves back to front. The placket is supposed to be on the underside of my wrist! At this point I could only laugh and refer to the project as the ‘Shirt of Doom’!
The sleeve pattern piece only had a single notch for the front and back sleeve so I carefully wrote a little ‘F’ and ‘B’ in the seam allowances of my cut sleeves to try and avoid exactly what happened. As I sewed the sleeve seam before inserting the sleeves, I couldn’t identify my F and B markings and just went with what felt right. Not my best decision.

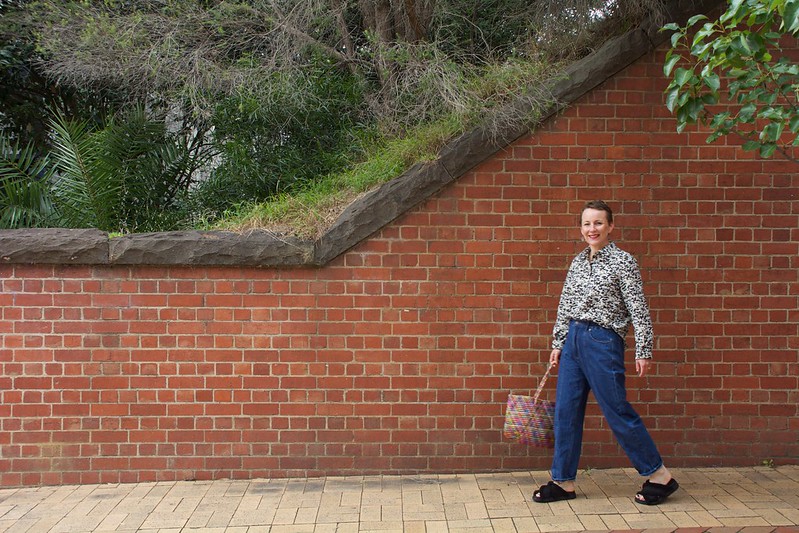
The sleeves are still waiting to be unpicked and re-set correctly, but in the meantime I wore the shirt to a catch-up with my Mother’s Group (17 years of friendship!) on Sunday afternoon and to see Mel Buttle’s show (highly recommend) at the Melbourne Comedy Festival on Sunday evening.
This shirt was quite the project… but I’m proud of my perseverance and delighted with the resulting shirt. And believe it or not, I will sew this pattern again! Surely it has to be smoother sewing the second time around?!

Pattern: Pattern 1 (the shirt of the front cover) from ‘Shirt & Blouse’ by Yoshiko Tsukiori [ISBN 978-4-391-15324-8].
Size: 13
Fabric: 100% Japanese cotton from The Cloth Shop [sold out]
Alterations: Left off the pocket and used my favourite sleeve placket pieces from Paper Theory’s Olya Shirt.
Outfit: Jeans from the sample rack at the Gorman Outlet in Bruswick, fluffy slides from Radical Yes (past season), bag on half price sale from Scarlet Jones many moons ago, beach glass earrings by Susan Ewington Jewellery and a vintage necklace.
Photo Location: Eastern Suburbs, Melbourne
What a nightmare! If I were ever tempted, I am put off these Japanese pattern books. You have done a beautiful job though. Such a great shirt with a pair of jeans.
And as you know I love wearing a shirt and a pair of jeans! This is definitely the trickiest Japanese pattern I’ve encountered. There are lots of styles with much more simple design lines and construction.
If the shirt is comfortable as is, *I’d* leave the sleeves as is and say the plackets on front are a design choice. But then I’d also be scribbling clarification and warning notes right in the book so they’d not be lost.
Lovely shirt, and worth the woes you had with it.
I unpicked the sleeves and re-set them last night before I saw your comment. I’m a recovering perfectionist, and I find it difficult to leave things that can easily be fixed. I agree the resulting shirt was worth all the obstacles I overcame during construction. Thanks for reading my post.
Wow, that’s perseverance! The shirt looks great!
Fyi, I’m now not getting notifications of your posts, and get an error when I try to resubscribe. … I’ll work on it, as I seem to break software eadiky! 😂