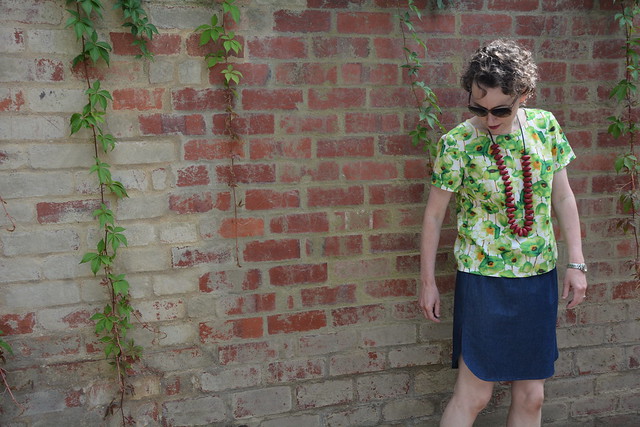
A skirt!
This post doesn’t have the most creative title, but the explanation mark is well deserved. My preference for sewing tops and dresses has been well documented on this blog. Can you believe this is the only the second skirt that I’ve made myself?
I’ve actually been working on a 2016 resolution this month… I’m always a bit late to the party! I’ve been sewing garments for my bottom half.
Last week when I was hunting through my printed A0 patterns looking for a specific shorts pattern, I stumbled across Sew DIY’s Baseball Skirt. I quickly decided to ease myself into sewing ‘bottoms’ with a beginner skirt pattern. A large oddly shaped piece of chambray from my scraps tub was unearthed and I crossed my fingers and toes for a wearable toile.
The things I love about this pattern:
- It’s a quick make for an experienced sewist and a very achievable pattern for a beginner
- Sew DIY has included finished garment measurements including suggested ease… the latter was so helpful
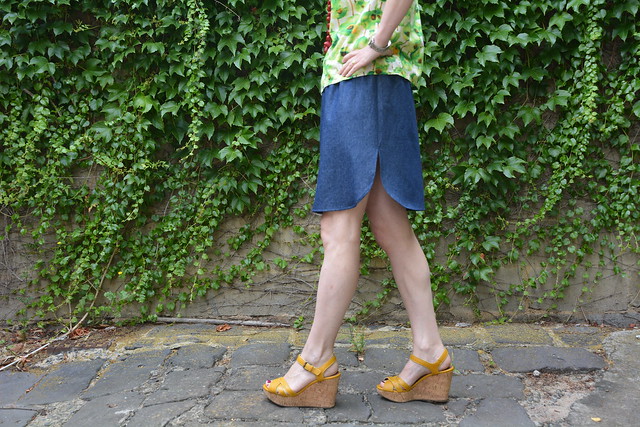
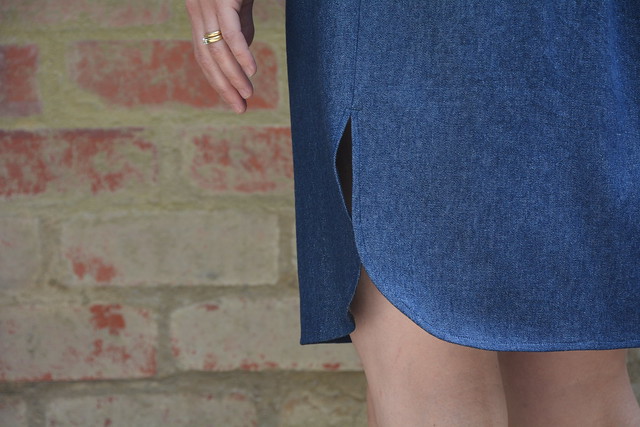
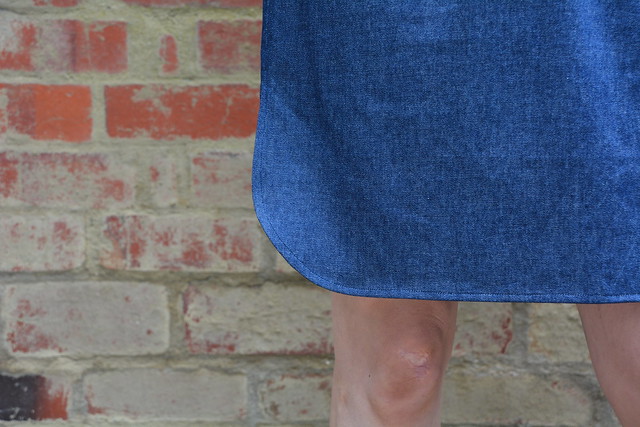
- The curved hem. Gosh I love that curved hem!
- The ability to customise/modify:
- I lengthened the front of the skirt to match the length of the back (tip… I cut out two backs as the front and back pattern pieces are the same width)
- I left off the pockets… this was a toile after all
- I didn’t add the drawstring to the waist as I knew I wouldn’t be tucking in my top
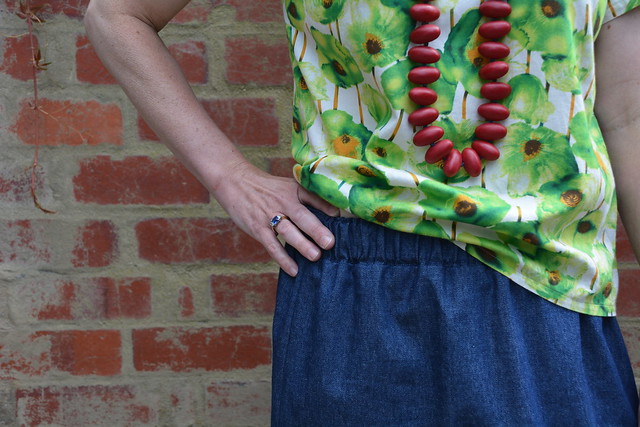
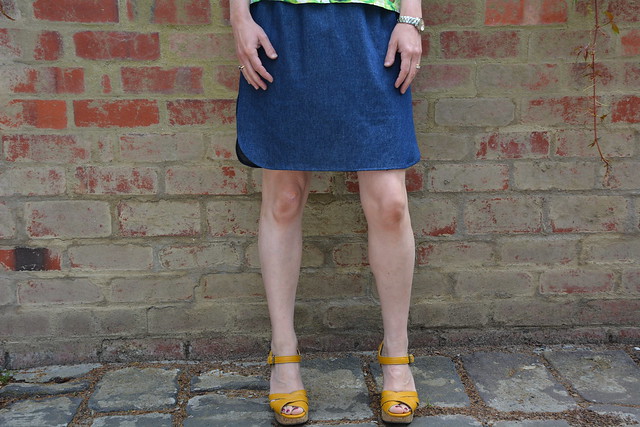
And now for the but… Unfortunately, this pattern isn’t for me. The elastic waist causes some bunching (which of course in hindsight is exactly what elastic does!) in the front that bugs me. Oh yes, I’m particularly fussy and don’t like drawing attention to my middle. I did consider altering the pattern to have a flat waistband at the front, but then realised that it probably wouldn’t fit over my hips. So, I’ve popped this pattern aside for now and returned to my original plan for sewing bottoms. Up next some shorts.
Pattern: Sew DIY’s Baseball Skirt
Size: S
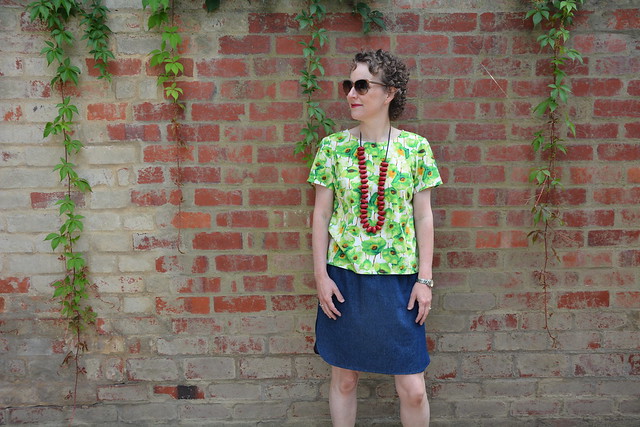
Fabric: Chambray from deep in the stash
Alterations: I lengthened the front of the skirt to match the length of the back. I left off the pockets and didn’t add the drawstring to the waist.
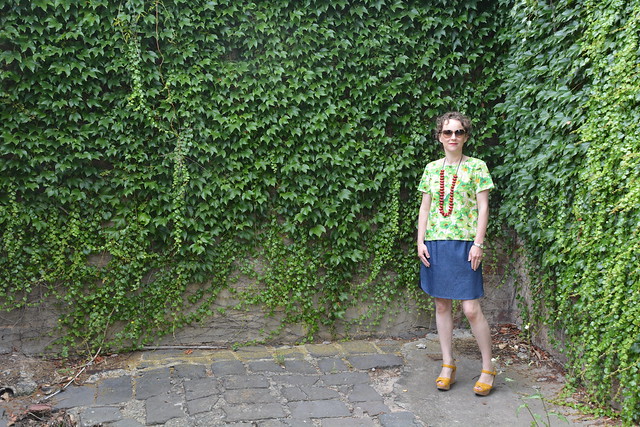
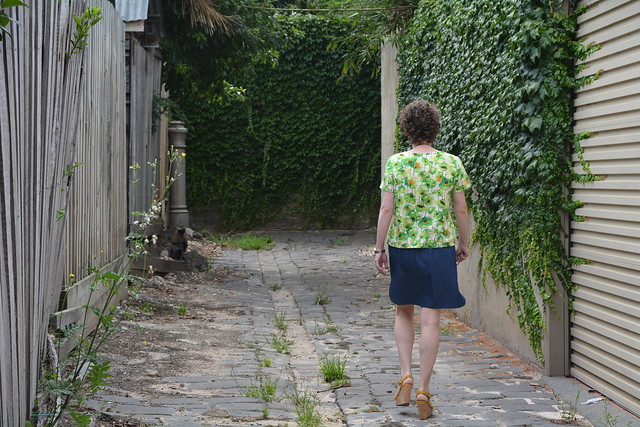
Accessories: Red beads from the op shop and shoes from Siricco (purchased several years ago). The top was blogged here.
Location: Eastern Suburbs, Melbourne
If you like the skirt bottom so much ( I agree it ver nice ) , why don’t you puts some darts in the skirt and create a facing and put in a zip . Very achievable and worth the effort I think .
That’s such a great idea Mem. I will definitely give it some consideration.
I do like that curved hem! I have a few elastic-waisted skirts. I love their casual ease but like you, and I don’t like the bunching. Sew and learn, right?
PS–I quit Instagram so you can’t stop blogging! 😉
Sew and learn… that’s so true. I have no intention to quit blogging any time soon. It’s probably old school now, but I like telling a story and having a sewing diary for my own reference.
C’est la vie. I’m sure we can frankenpattern a different waistline finish onto that hemline!
I like the way you think!
Anna, I must say I like your version of this skirt much more than the original. Maybe due to the modification and the fact I am a total chambray addict? I am with you on the elasticated waistband though. I don’t mind a bit of elastic, but not at the front. I like the idea of adding darts to shape the skirt. Or use the bottom of the skirt (the hemline is gorgeous!!!) with another pattern that works (or will work well) for you 🙂
Thanks for your lovely feedback. I’m sure I will find a way to re-use that hem on another skirt/dress pattern. You will not be surprised to hear that I brought more chambray yesterday. Denim/chambray… I just can’t get enough of them at the moment.