Making fabric covered greeting cards or gift tags
After all the focus on finishing the skirt for Miss A’s teacher, I only remembered late yesterday afternoon that I didn’t have a thank-you card. My solution, that thankfully didn’t involve leaving the house, was to make one!
I acknowledge this probably isn’t an original idea, but here is my take on making your own non-folded, fabric covered, greeting cards or gift tags.

Materials
- Card stock – I used packaging card, but cereal boxes would also work well
- Coloured paper
- Fabric
- Fabric marker
- Glue stick
- Household scissors
- Pinking sheers
- Sewing machine & thread
- Hole punch (optional)
Instructions
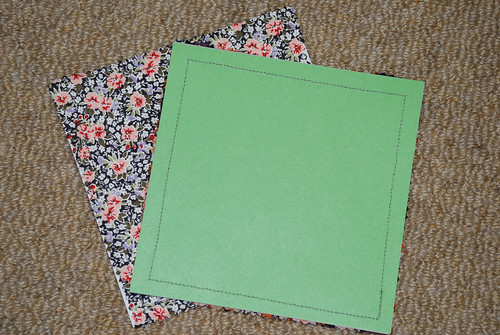
1. Glue the paper to one side of the card.
2. Cut the card to your preferred size and shape. I stuck to basic squares and rectangles, but be as creative as you like!
3. Place the card on the wrong side of the fabric. Use a fabric marker to trace around it, and cut out using pinking sheers.
4. Glue the fabric to the blank side of the the card.
5. Sew around the card approx 1cm from the edge.
6. Punch a hole in one corner (if making a gift tag)
7. Write your message on the coloured paper and you’re done!