Let’s Go Fishing Hat in stars and stripes
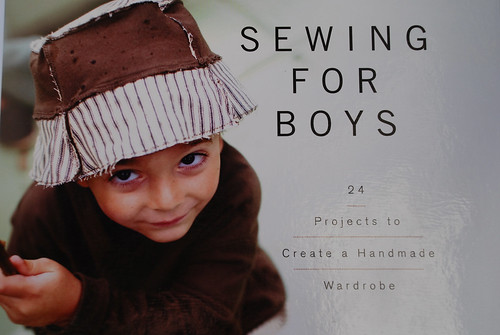
I do love books …and a sewing book is particularly hard to resist. When Sewing for Boys by Shelly Figueroa and Karen Lepage (of Figgy’s fame) was released in 2011, I brought it with my nephews in mind.
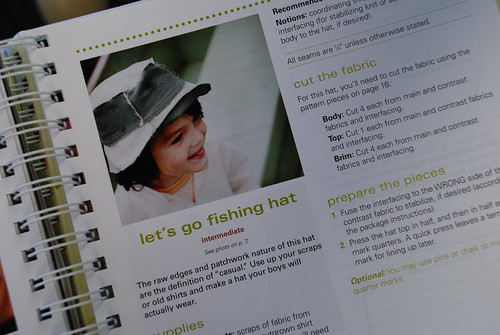
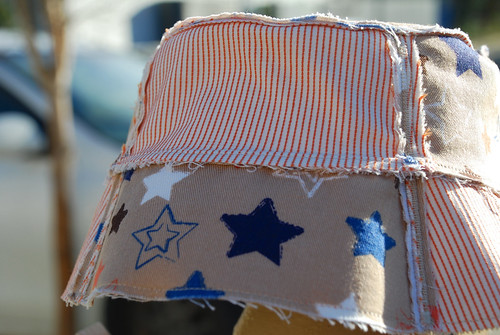
On Saturday night I whipped up a Let’s Go Fishing Hat (which is also available as a free pattern) as a birthday present for a little boy who turned two yesterday.

When it comes to sewing, I do like things to be neat. And to tell you the truth, overlocked seam finishes give me lots of joy. Sewing nerd or what? So this hat, with it’s raw edges was a little challenging for me at first, but I have to admit I love the result.
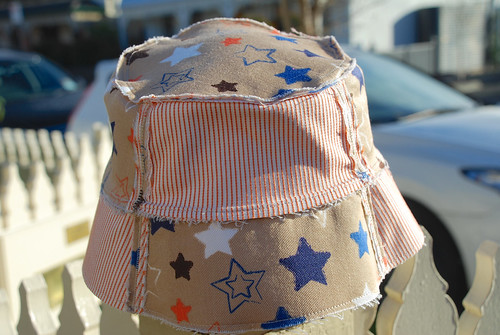
The hat uses a very little amount of fabric. It can be made up in woven or stretch (stretch requires interfacing) and is perfect for using up scraps. Although, that being said, as I don’t usually sew for boys, my scraps are a little too girly for a Let’s Go Fishing Hat!
Pattern: Let’s Go Fishing Hat from Sewing for Boys (also available as a free pattern)
Size: Size 4/5. I should have made the 2/3 but as the pattern looked so small on paper, I decided on the next size up. It was a little big, so the pattern sizing for this project is accurate. I should be more trusting.
Fabric: From the stash. The stripes was purchased before I could sew and the stars was gifted.
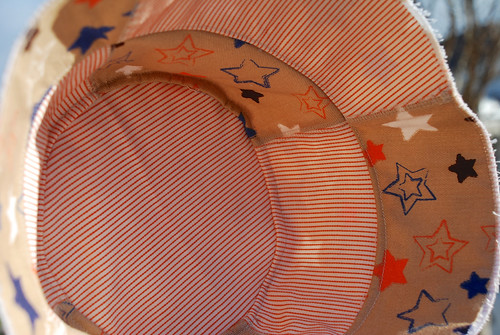
Alterations: I interfaced the stripey fabric (which had a small amount of lycra in it) to eliminate the stretch and give the hat more body (an optional step). I used my duckbill scissors to remove the interfacing in the seam allowances to reduce bulk before top stitching them. The joins in the body and brim of the hat were ironed apart and top stitched with a machine stitch which is similar to overlocking. The instructions suggested ironing the seam allowances to one side and top stitching with a zig zag, so this was really just my little interpretation. The other joins in the hat and the edge of the brim were top stitched with a straight stitch as I was running out of matching thread!
A big thank-you to my gate post for modelling today!
Love the hat Anna – I think I need to finally make something for Ben!
Looks like another book I need (I love books too)!
It was another of those gifts that was a little hard to give away! You can never have too many books…
Fabulous hat!! My boys had pants made out of that star fabric.
The star fabric is from Lara’s stash. It would have been ace in pants!
OMG it’s tooooo cute!!! I’ve got to make one!
You do! They are quick and fun to sew. And yes, oh so cute.
Fabulous! I love the book, but haven’t ventured off the bottoms (oops)
– and I must admit, I have hesitated with the raw edges, though I understand their reasoning 😉
– I really must make the boys new hats for spring, and this is too cute, so thanks for the reminder!
My pleasure 🙂
That is such a cute hat – especially with those raw edges! Who’d have thought!
I know! Did you recognise the stars?
[…] For Boys from the library. I’ve seen it mentioned on a few other blogs (most recently on Blogless Anna, where she made a very cute boys hat) and thought it was worth checking out. Many of the patterns […]